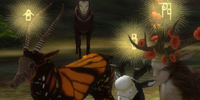
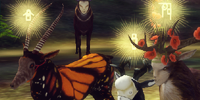
Hello, everyone! I'm gonna teach you a neat way to give your Endless Forest screenshots a fancy new look. I'll just be covering the basics, so I encourage you to experiment and look up other tutorials on the internet for more tricks!
--->
***
I assume you have a basic understanding of Photoshop 7 or any equivalent program. If you need specific help, please ask me!***
Step 1: Shoot, Crop, Resize
Cropping and resizing your images can really improve your shots. The photo I used was resized from 1000x720 to 400x286! Once you have your image, you can follow these steps...
Step 2: Duplicate
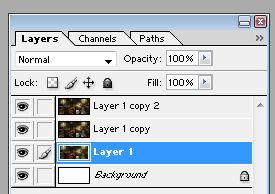
Duplicate your image two times. You should now have three layers (see below). You won't be altering the first one at all, so don't worry about it.
Step 3: Settings
This is where we get technical. I have an image here to help you:
*
(the "Background" layer serves no purpose... I just forgot to delete it)
See the drop-down box that says "Normal"? Head there for these next steps:
1) Set LAYER 1 COPY to SCREEN
2) SET LAYER 1 COPY 2 to SOFT LIGHT
(You will not be working with LAYER 1)
Your image should look like this:
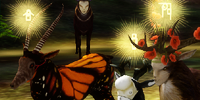
You can see how even a few settings can really alter a picture!
Step 4: The Magical Exclusion Layer
Create a new layer. Fill it with #09002E, which is a navy-blue (almost black) color. Set this layer to EXCLUSION. Your image should look like this:
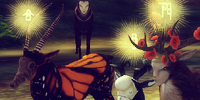 Step 5: Fine-Tuning
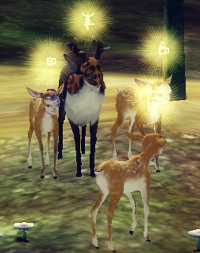
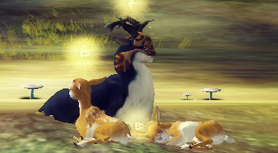

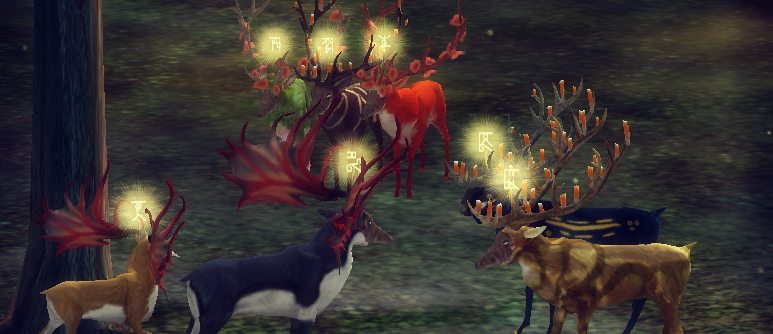
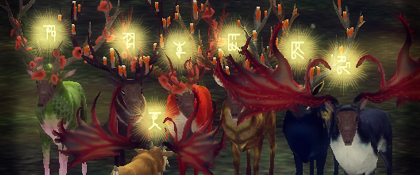
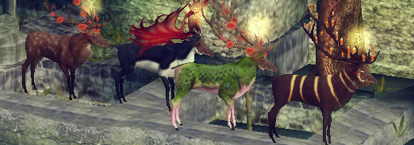

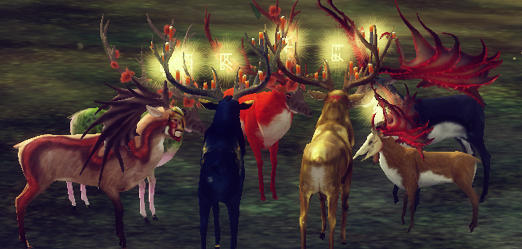

 --->
---> 
 *
*


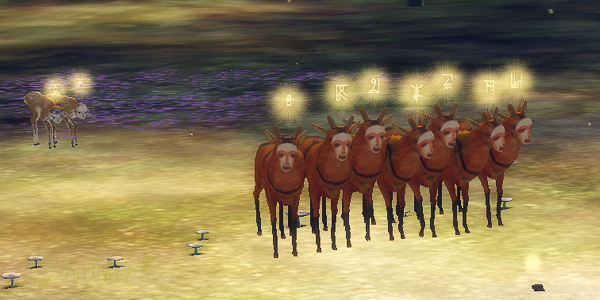
 Those poor fawns!


 )
)
 .
.